 Frank
FrankCheck out Wowhead's page for Maisara Caverns, coming in Midnight Season 1
Trash Mobs
Muro'jin Trash
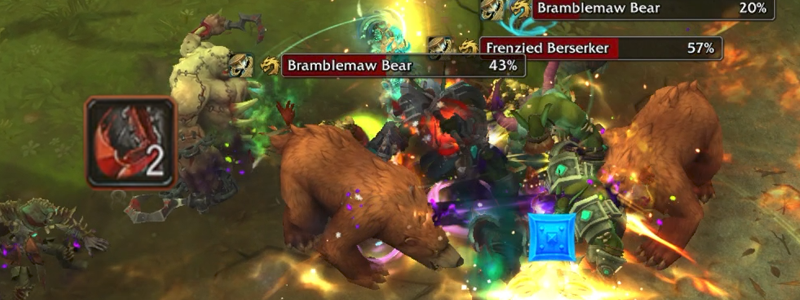
Frenzied Berzerker
Regeneratin' - Mobs with this will regenerate 2% of the health every 5 seconds.

 Blood Frenzy - Will Enrage, increases damage by 20% and attack speed by 30%
Dread Souleater
 Necrotic Wave - Spams a chain wave of heal absorbs.
Rain of Toads - Rains toads in the area, hits anyone within the 3 yard impact swirl.
Mire Laborer
Just melees!
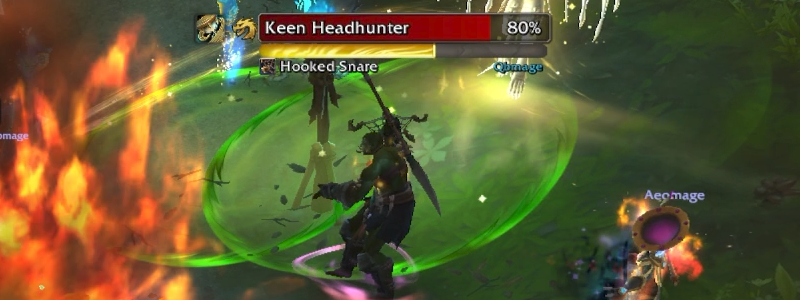
Keen Headhunter
Regeneratin' - Mobs with this will regenerate 2% of the health every 5 seconds.
Throw Spear - Just an aimed-shot type attack, try and pull in to the group, or pull group on top of.
 Hooked Snare - Roots and places a DoT on a target for 4 seconds.
Ritual Hexxer
Shadow Bolt - Bolt slop.

 Hex - Will CC a player, can be dispelled, but interrupt as priority.
Hexbound Eagle
Diseased Claws - Additional Magic damage with melee attacks.
 Shredding Claws - Jumps to a random player, starts swiping. Just step out of its cone.
Warding Mask
Sear - Random instant-cast fire blasts on the group.
Hex Guardian
Searing Presence - AoE rot on the group while it lives.
Magma Surge - Chooses a random player and points a fire blast at them. Move out of the group so as not to hit others.
Ritual Firebrand - Two players will get a magic debuff, drops AoE circles while it persists every 4 seconds.
Bramblemaw Bear
Crunch Armor - Increases damage taken by 10%, can stack.
Umbral Shadowbinder
Shadow Burst - Shadow AoE Swirl, step out.
 Shrink - Channels damage into a player, reduces their size. If the shrunk player comes into contact with another full-sized player, they'll be stunned for 4 seconds. Important interrupt.
Hulking Juggernaut
Rending Gore - Tank Smash.
Defeaning Roar - AoE Spell Lock, damages the group.
Vordaza Trash
Grim Skirmisher
Grim Ward - Large shield on the mob, when the shield is removed, AoEs the group. In large groups on higher keys, this will be deadly.

Reanimated Warrior
Reanimation - Attempts to heal itself upon death, will gain 50% health back.
Dread Slash - Slashes the tank, applies a stack of Undying Resolve to themselves, increasing damage by 5% per stack.
Restless Gnarldin
Spectral Strikes - Melee done to the tank does additional damage to the rest of the group.
Staggering Blow - Slams the tank, applies 50% movement reduction and will usually be followed up with...
Ancestral Crush - Large AoE swirl under the mob, leaves a zone after cast.
Tormented Shade
Spirit Rend - Hits a player with a magic dispel, but can stack from multiple casts. At low levels, not a big deal, but at high stacks and be problematic.
Bound Defender
Spectral Strikes - Melee done to the tank does additional damage to the rest of the group.
Soulstorms - Sends out two vortexes that swirl around the mob, deals damage and knocks the player upwards if hit.
Vigilant Defense - Puts up a shield, facing a direction, and ignores all damage from that direction.
Hollow Soulrender
Shadowfrost Blast - Harder-hitting bolt slop.
Frost Nova - Targets a player, move out group otherwise will freeze everyone hit. Can dispel the root.
Rend Souls - Marks a couple of the Lost Souls wandering around, who will run over and attempt to explode in the middle of the group. Just avoid the AoE.
Lost Soul
Cries of the Fallen - These will march towards the last boss, and if you come in contact with them, will knock you and root you. Can be dispelled.
Rokh'zal
Invoke Shadow - Creates an Umbral Vortex, 8 yard AoE, will try to pull the group into the swirl.
 Ritual Sacrifice - Stuns a player for 1 second, then pulls them up to the alter in the middle of the room to be sacrificed. Will tick damage quickly, so break them free ASAP.
Rak'tul Trash
Gloomwing Bat
Piercing Screech - AoE screech
Zil'jan
Ritual of Drums - If within 70 yards of him drumming, take a pulse of AoE every time he hits the drum. Sends orbs hopping down the path that will knock back and damage anyone that's hit.
Bosses
Muro'jin and Nekraxx
Before discussing the mechanics, ensure both bosses die together, as Muro'jin will cast Revive Pet resurrecting Nekraxx after 10 seconds, and Nekraxx will gain stacks of Bestial Wrath increasing their damage by 20% every 4 seconds.
Tanks will need to keep positioning the boss due to two mechanics: the first focuses around Freezing Traps, which Muro'jin will throw a few traps on the ground that if touched, will freeze the target for 8 seconds, and after release, drop Icy Slick creating an area of denial in the arena. These Freezing Traps are important for Coordinated Assault. Muro'jin will aim an axe at a player to hit in the air after being knocked up by Nerkaxx's Carrion Swoop. However, if the player steps into a Freezing Traps, Nekraxx will be instead stunned when trying to knock you up, and the assault will not happen. Tanks should stand near by Freezing Traps so DPS/Healers can run over and trigger a trap to save them from this attack that will almost certainly kill them. 
The second, Flanking Spear, has Muro'jin jump away from the tank and throw a spear at the tank, knocking them away and applying  Open Wound, a bleed that will last 10 seconds. Don't get knocked into Freezing Traps!
Nekraxx will jump to a random player and cast Fetid Quillstorm that has a 10 yard AoE, and after causes several smaller 3 yard swirls to eject around the area.
Muro'jin will choose a target to Barrage which fires a frontal cone of arrows at them. Move the frontal away from the group, and anyone hit by the frontal will have a stack of Vilebranch Sting applied to them every half second adding 5% movement slow per a stack. Healers can dispel this, especially if the target is marked for Coordinated Assault.
Outside of that, Nekraxx will periodically throw a light rot disease, 
Vordaza
This fight is quite simple, starting with the tank taking Drain Soul as their main focus. Healers will be constantly fighting against the rot of Withering Miasma. Also players will also have to watch for the sweeping Unmake frontal. 
The main gameplay mechanic is Wrest Phantoms, where four Unstable Phantoms will spawn, each chasing a player using Final Pursuit. If a Phantom touches a player, or each other, they'll die and drop Soulrot on the ground. If it's a player that's hit, they'll also apply Haunting Remains which increases further damage from Final Pursuit by 200% for 20s.
The trick to these mobs is to have two players align the path for Final Pursuit to hit the other Phantom, which will kill them, but also apply Lingering Dread, a stacking DoT that lasts 4 seconds. So stagger killing off these mobs, as your healer may not want to deal with a 4-stack of Lingering Dread, as you'll get two stacks per a pair of Phantoms killed off. 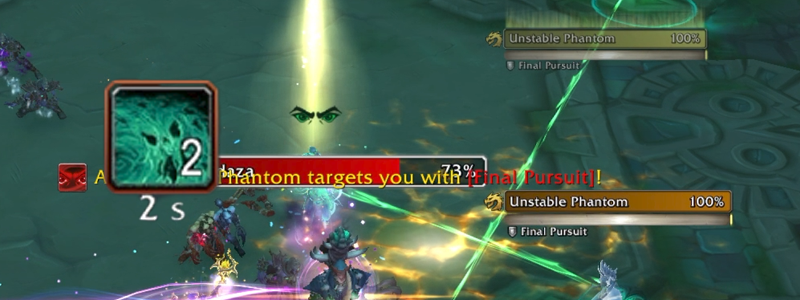
After some time has passed, Vordaza will jump to the middle of the room and begin casting Necrotic Convergence which ramps up in damage the longer she channels. She'll apply a Deathshroud to herself, which needs to be burned off so that you can kick the Convergence and end the phase. While she is channeling Necrotic Convergence, portals will open in the corners of the room and spew out Coalesced Death orbs, so dance around them as you burn the shield.
Rak'tul, Vessel of Souls
Tanks will need to keep their positioning in mind for Spiritbreaker, a three-hit combo that ends with the tank being flung backwards and leaves behind a pool of Spectral Decay for some area of denial. He will also eject several smaller Volatile Essence swirls every six seconds, hitting anyone within 2 yards thanks to Deathgorged Vessel.
Crash Souls will pick three targets to jump to, dropping Soulbind Totems. These totems need to be taken down quickly, as they will pull players towards it, and damage them every half second if they touch Chill of Death. As Rak'tul jumps around, try and position the jumps in a small triangle so they can hopefully be cleaved down with the boss. Also ensure to kill the totems before Soulrending Roar otherwise the group will take damage from Shattered Totem per every left up totem.
After two sets of Crash Souls, Rak'tul will cast Soulrending Roar, which will stun Rak'tul with Soul Expulsion for 45 seconds. You'll have Withering Soul which will ramp damage the longer you take to return to your body. As you run back, avoid stepping into Lost Souls who will root you with Cries of the Fallen, and try and interrupt Malignant Souls' Eternal Suffering, as you'll gain a 25 second buff called Spectal Residue that increases damage/healing by 25%, and movement speed by 25%, which stacks. So the more you interrupt, the more damage you can do when you return to the boss during his 45 second stun.