 Frank
FrankCheck out Wowhead's page for Seat of the Triumvirate, returning in Midnight Season 1
Trash Mobs
Zuraal Trash
Famished Broken
Rapture - Randomly pulses light AoE to the group.
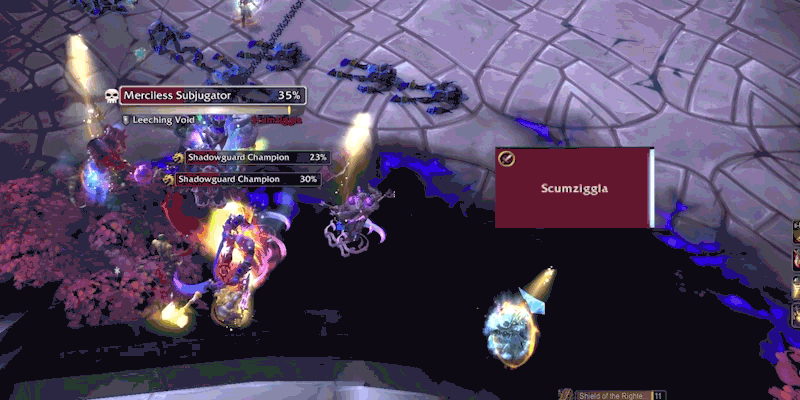
Shadowguard Champion

 Relentless Pursuit - If the tank is out of range, will charge towards their target and slash at them, leaving a nasty 4-second bleed.
 Battle Rage - Enrage, lasts 15 seconds and can stack, soothe it!
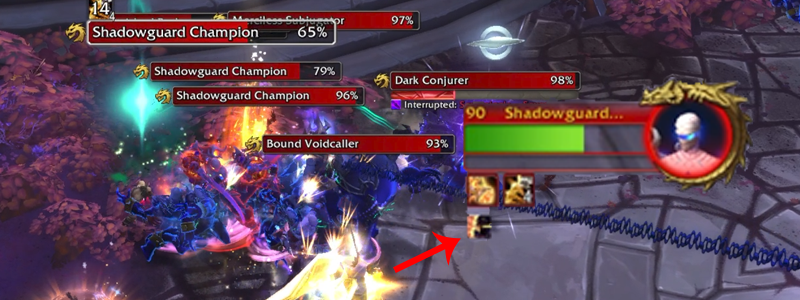
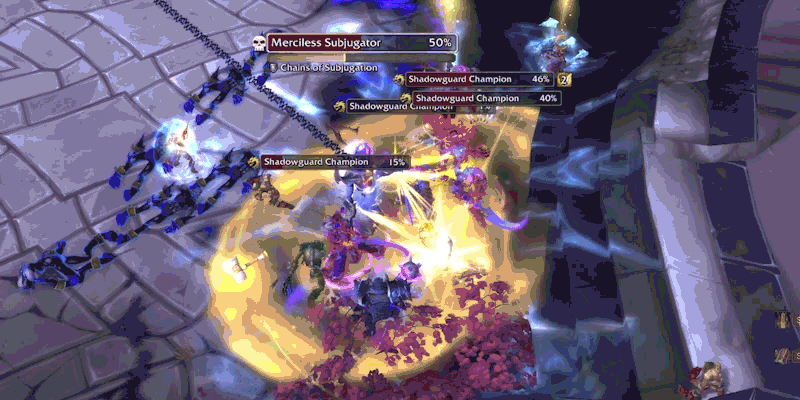
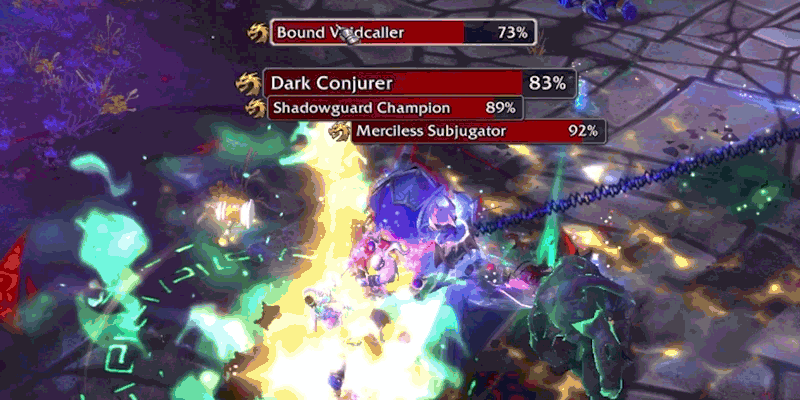
Merciless Subjugator

 Leeching Void - Puts a large absorb shield on a player, will heal mobs around that player for 5% health every 2 seconds until the absorb is removed.
 Chains of Subjugation - Everyone in the group gets a small circle that AoE.
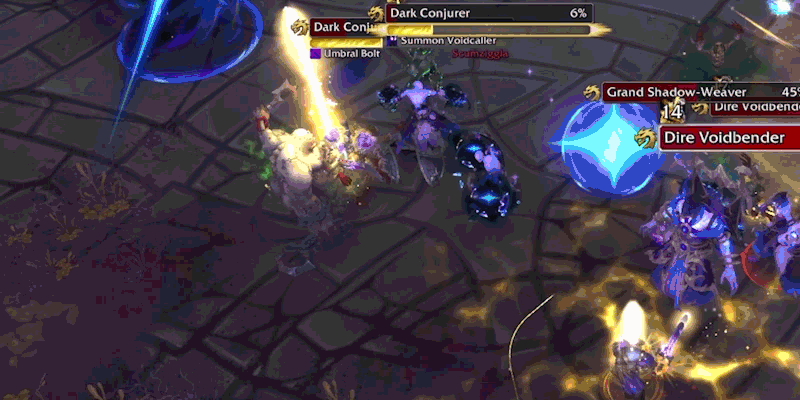
Dark Conjurer
 Umbral Bolt - Bolt slop.
Summon Voidcaller - Some packs appear to have a Bound Voidcaller already summoned... however ensure they don't get a chance to cast this during combat, too.
Bound Voidcaller
Pulsing Void - Pulses AoE on to the group every 2 seconds.
Saprish Trash
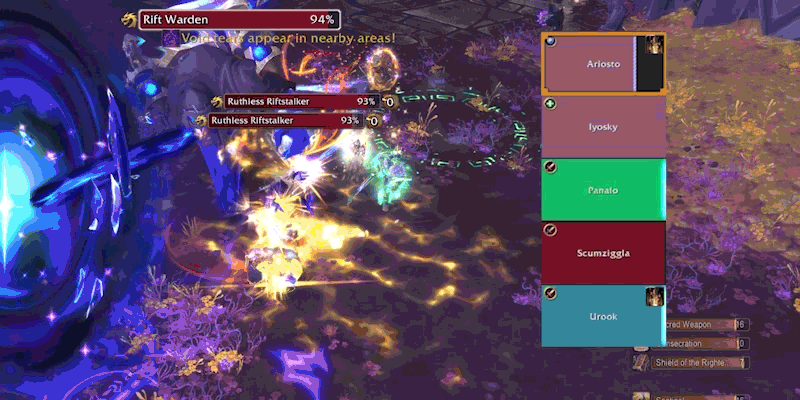
Rift Warden
You must kill four of these to spawn the boss, Saprish.
Rift Essence - Debuffs two players to take an additional 20% Shadow damage.
 Rift Tear - Channels into the portal beside it and gains stacks of Enveloping Darkness. This will pulse an AoE every 4 seconds for each stack until no stack remains.
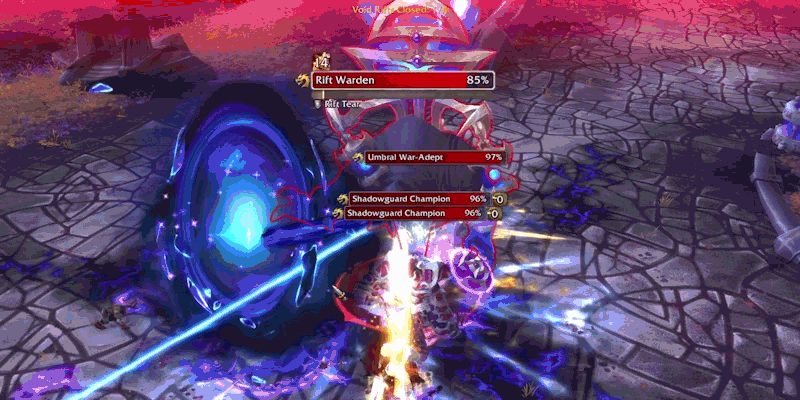 Destabilized - If the tank pulls the Rift Warden too far from the portal, it will destabilize and pulse damage very quickly, most likely resulting in a wipe.
 Void Expulsion - The portal near the Rift Warden will send out two shadow swirls every so often.
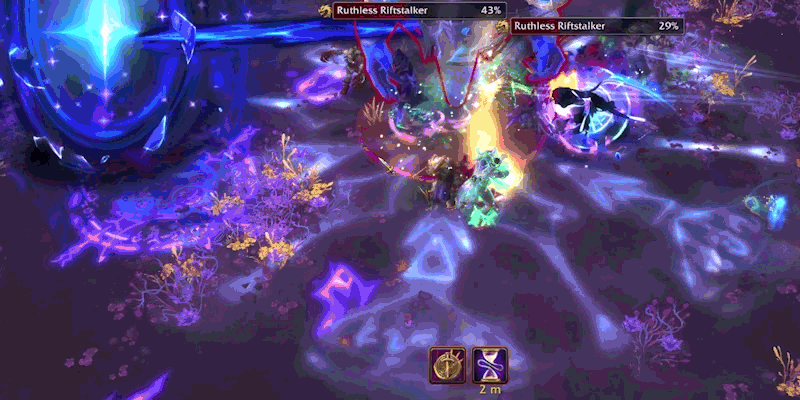
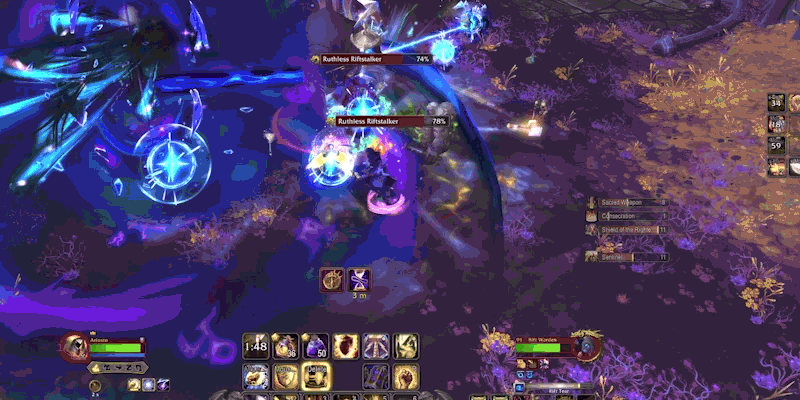
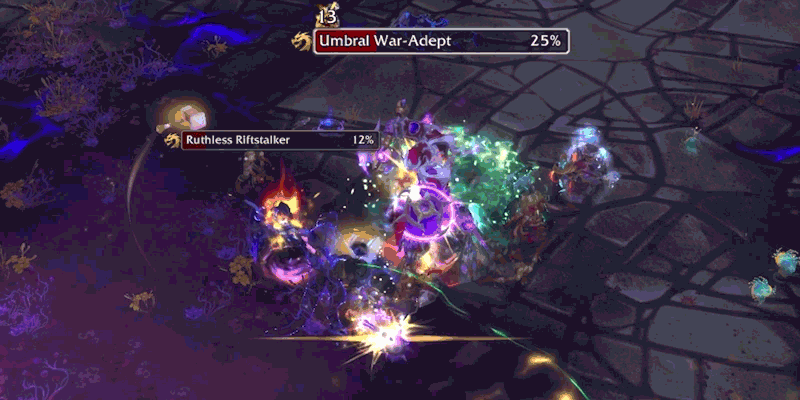
Ruthless Riftstalker
Backstab - Attacks and sets a bleed on two targets in the group. Requires spot-healing.
 Shadowmend - Jumps away in an attempt to heal itself, recovering 3% of max health every second. Interrupt to stop.
Ravenous Umbralfin
Devouring Frenzy - Melee attacks heal the Umbralfin.
Umbral War-Adept
Grand Swing - Frontal.
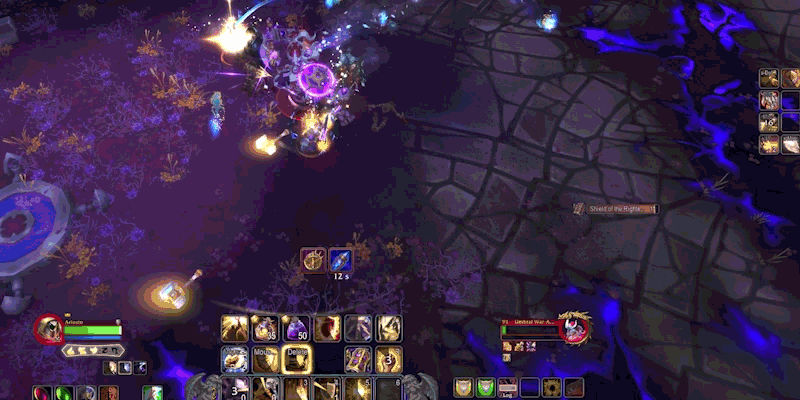 Void Bash - Slams into the tank, knocking them backwards.
Note: When this mob is paired with Shadowguard Champions, they'll use their Relentless Pursuit to re-engage with the tank, leading to some high damage intake.
Viceroy Nezhar Trash
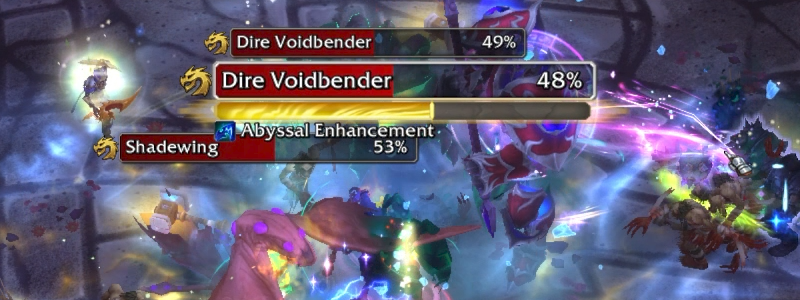
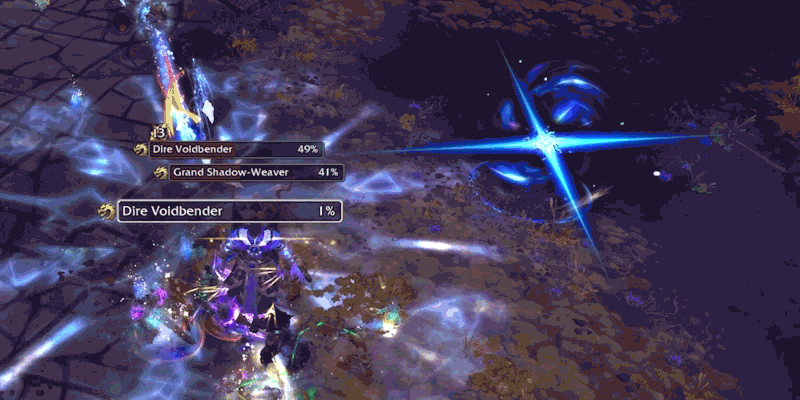
Dire Voidbender
Abyssal Enhancement - Will buff itself so that all melee attacks will splash on to the group. Is cast frequently, so try and rotate kicks.
Void-Infused Destroyer
Void Cleave - Frontal, avoid.
 Eruption - Targets two players with AoE circles, move out of the group.
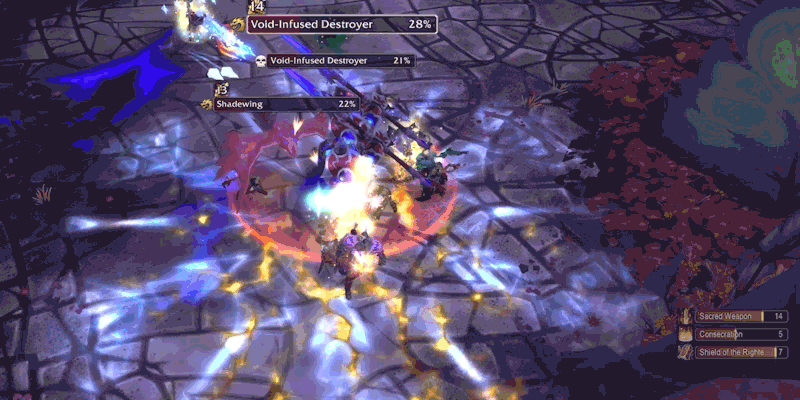
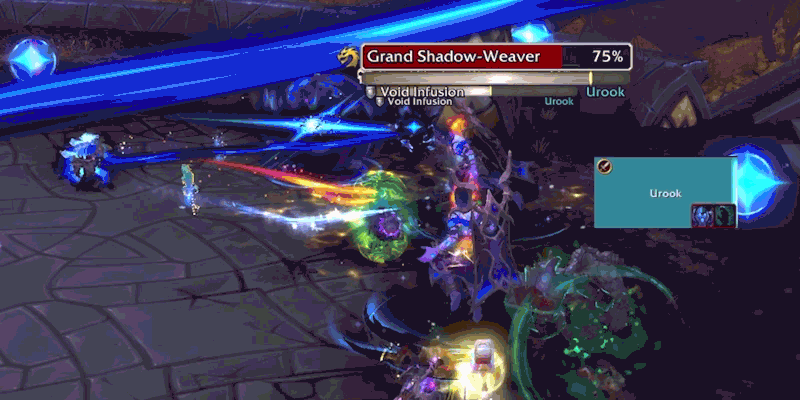
Grand Shadow-Weaver
Gate of the Abyss - Summons a orb that will fire out Umbral Waves in four random directions, and leaves a DoT if struck by one.
 Void Infusion - Channels damage into a player, requires spot-healing.
Bosses
Zuraal the Ascended
Positioning of this boss is going to be crucial, and this is due to Oozing Slam, where Zuraal will spawn two Coalesced Void. These cannot touch Zuraal or they will cause Dark Expulsion, most likely resulting in a wipe. 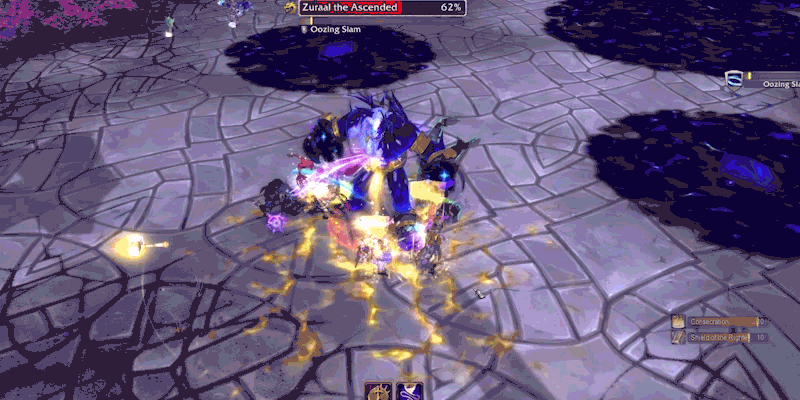
What will make this difficult is Decimate, where Zuraal will choose a target to jump to and leave behind Void Sludge. If there are any Coalesced Void in the arena when Zuraal chooses you to Decimate, then ensure you place his landing point far away from any Coalesced Void to avoid this from triggering. Otherwise, avoid standing in the Void Sludge as you take down the Coalesced Void
Zuraal will cast Void Slash on the tank, even if he's jumped away, so always keep Active Mitigation up during this channel. And to keep players from cheesing positioning, he will cast Null Palm as a frontal. 
When Zuraal hits 100 Energy, he will cast Crashing Void where he will pull players and Coalesced Void towards him, accelerating the chance that a Coalesced Void will touch him. Use stuns and finish off the adds if they're still up when he casts this.
Saprish
There are two umbralfin's with Saprish: Darkfang and Shadewing.
Darkfang will Shadow Pounce, which will jump on a player and leave a DoT for the healer to spot-heal. Shadewing will Swoop, and after reaching it's destination, it will cast Dread Screech which must be interrupted or else it might result in a wipe. 
As for Saprish, he will attack the tank with Rending Void, which adds a significant amount of magic damage to melee attacks. Outside of this, he will drop Void Bombs around the arena, which appear to mostly spawn near other players, with maybe an outlier here and there.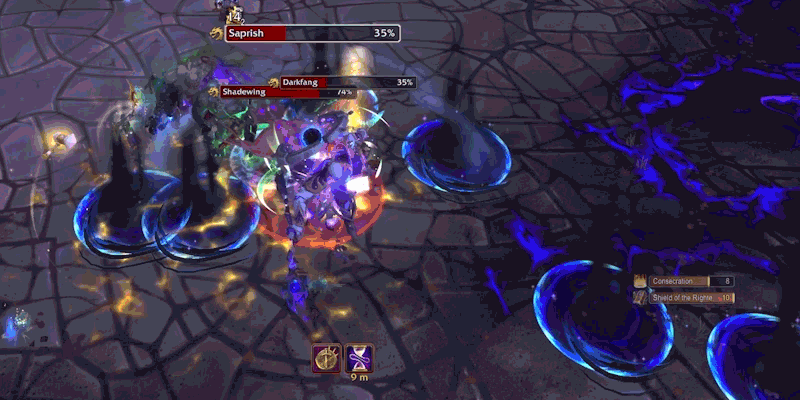
These need to be destroyed by using his Phase Dash attack, which will trigger any Void Bombs within 5 yards of the player. 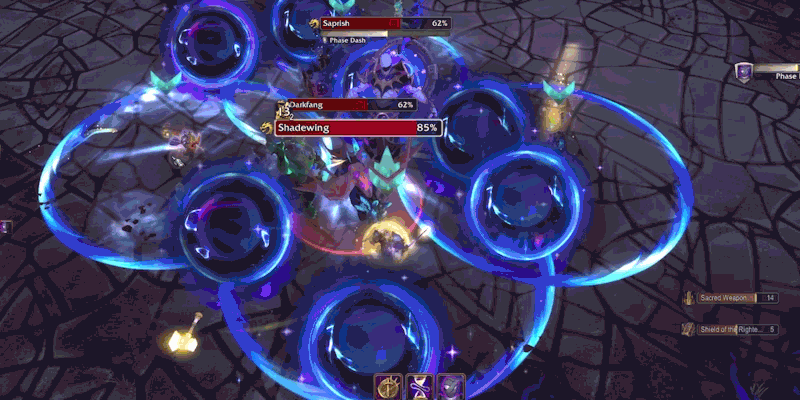
You need to try and destroy all Void Bombs before Saprish casts Overload.
Overload will hit everyone with a manageable AoE, and then leave a 8 second DoT... but if any bombs are left standing, they'll explode for additional damage, but more importantly, each add a stack of Seeping Void, which will increase Shadow damage taken by 20% per stack for 1 minute, making the fight significantly harder and ensure a wipe is most likely coming. 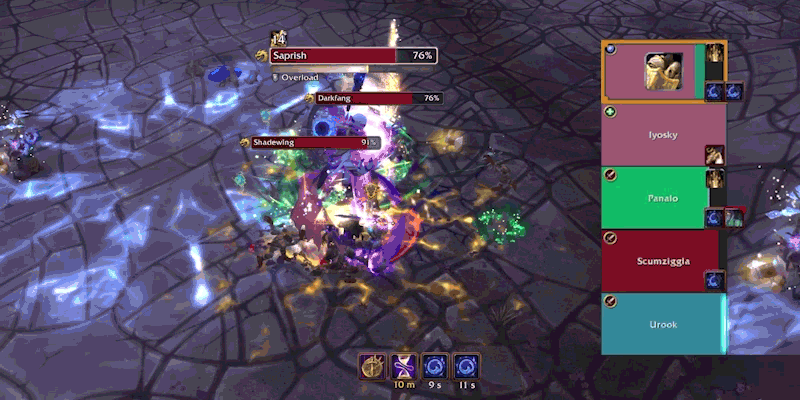
Viceroy Nezhar
Viceroy Nezhar will start by using the same Gates of the Abyss we saw from Grand Shadow-Weavers we saw in the pulls leading to the boss, but you'll see three per cast in this fight. The Umbral Waves can be deadly for melee who are standing close to a portal, or for ranged not seeing one coming through the boss' hitbox. Get hit, and you'll have a nasty DoT for the healer to recover you from.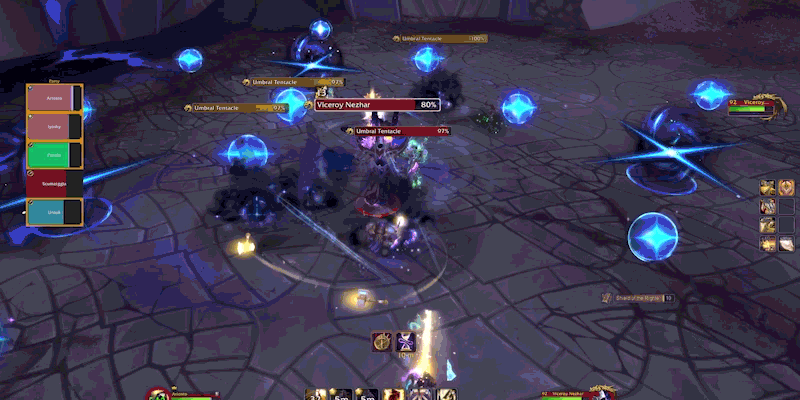
Around about when the second set of Gates of the Abyss drop, Nazhar will also summon Umbral Tentacles which will damage the group via Unstable Entrance when summoned, but also channel Mind Flay constantly into the party. Take these out quickly before the boss hits 100 energy.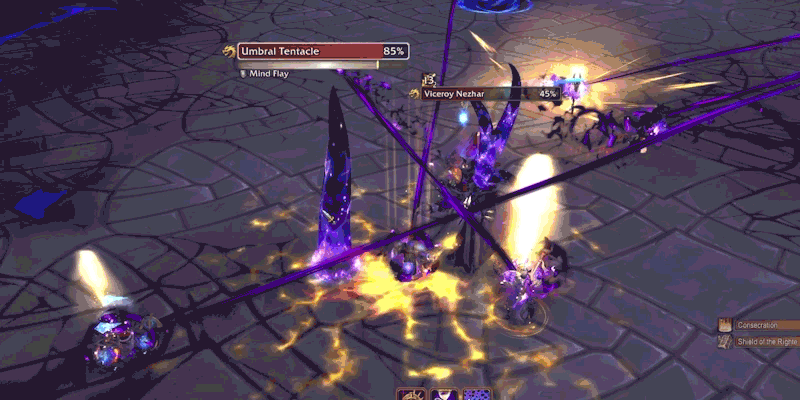
When Nezhar hits 100 Energy, he will cast Collapsing Void, pushing everyone away from the center of the room, while enclosing the area around him with a Void Storm. Run towards Nezhar while he channels this so that you'll be close to melee once the storm forms, and then the party will receive some AoE while the storm lasts. 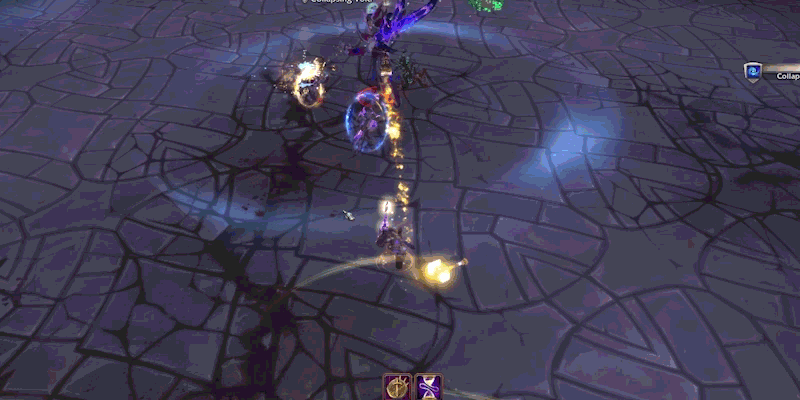
Otherwise, players will want to ensure Mind Blast is interrupted to save the tank from getting slapped, and healers will need to keep the three players affected by Mass Void Infusion while it channels over 5 seconds. 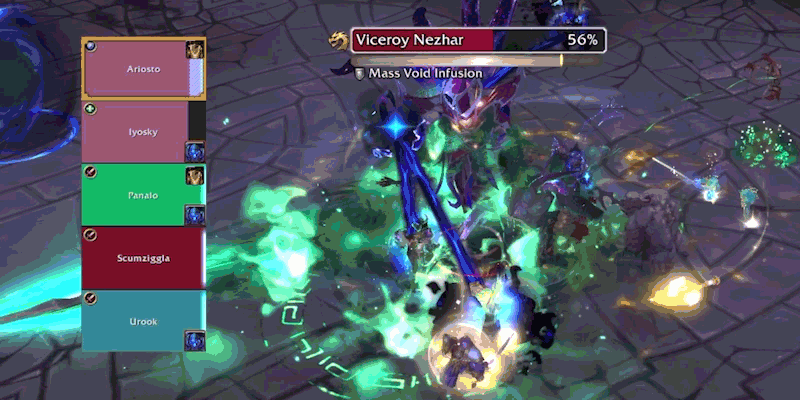
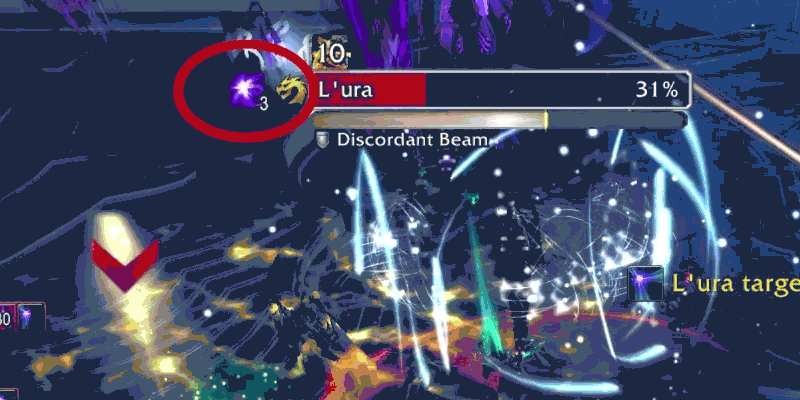
L'ura
The first thing to take note within this fight is the six Notes of Despair L'ura will summon in, immediately followed by Dirge of Despair, which is a constant AoE that's amplified based on the number of Notes that are active. The goal for this phase is to silence all the Notes of Despair with the spell Discordant Beam. By lowering the amount of active Notes, you'll also lower the amount of damage going out. L'ura will follow these casts with Disintegrate, which is your typical walled-spiral from the boss to move around with. 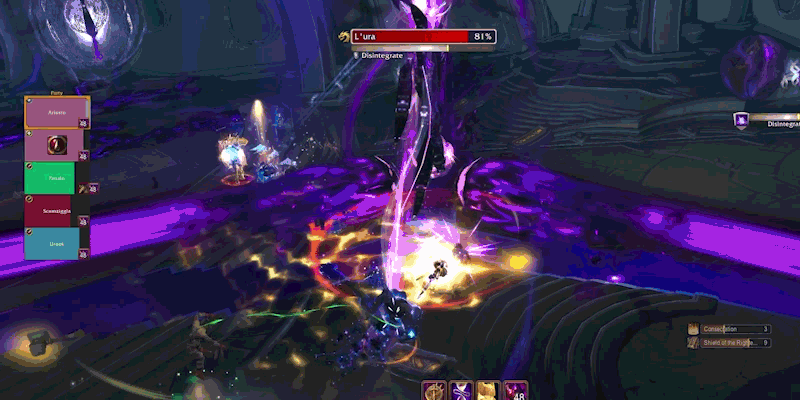
After Disintegrate, three players will be chosen to aim their Discordant Beam at one of the active Notes each, meaning it'll take two sets of beams to silence them all.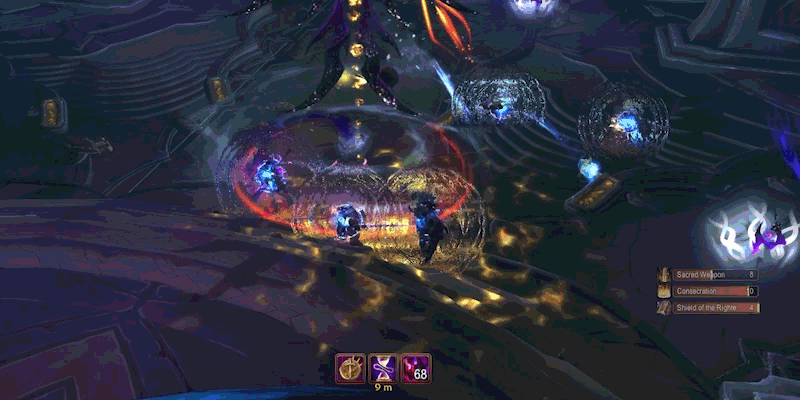
However, L'ura will punish you for not silencing Notes effectively with Grim Chorus, where each active Note will expand a large AoE zone to avoid, so try and clear an entire side collectively, as a group, with each cast of Discordant Beam. 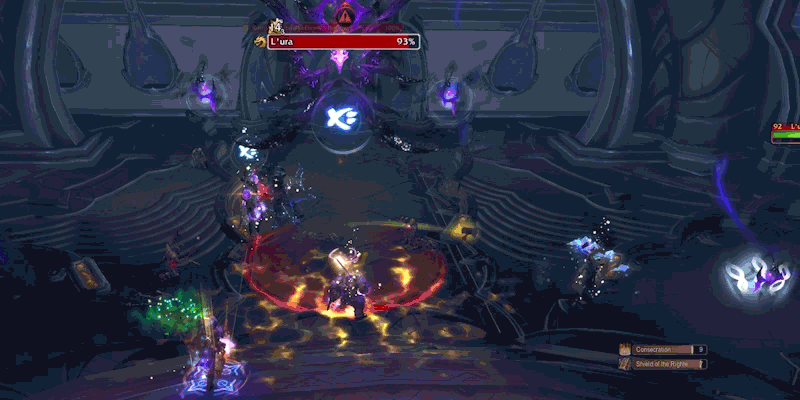
But after the cast completes, for the next 20 seconds, players will gain a stack of Anguish every 3 seconds for each active Note. This will increase the damage of Dirge of Despair by 4% per stack, so this can stack very high, very quickly if Notes aren't silenced effectively.
Once all Notes of Despair are destroyed, L'ura will begin to channel Symphony of the Eternal Night, only to be stopped by Alleria Windrunner, who will cast Shattering Shot, destroying all the Notes, and then she will Siphon Void from L'ura, increasing L'ura's damage taken by 200% for 20 seconds. Send cooldowns at this point, and once the damage amp ends, she will knock Alleria away and re-summon her Notes.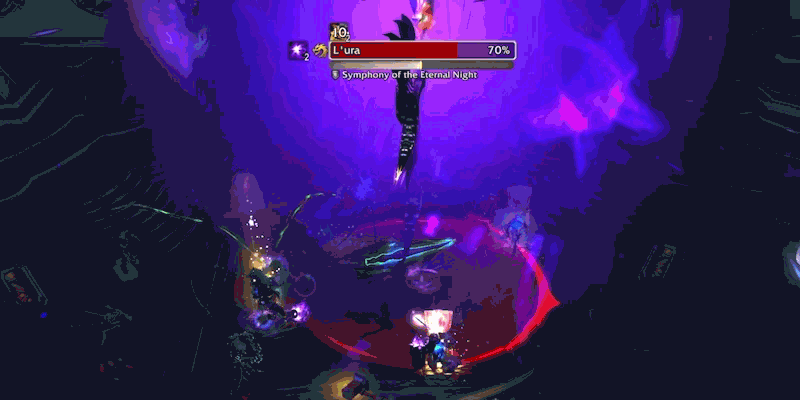
Otherwise, L'ura's tank attack consists of opening 3 portals over the course of 12 seconds, and when all three are open, it will fire Abyssal Lance at the tank, hitting hard. You can track the portals via the nameplate for L'ura to anticipate any active mitigation.