 Frank
FrankCheck out Wowhead's page for Algeth'ar Academy, returning in Midnight Season 1
Trash Mobs
Overgrown Ancient Trash
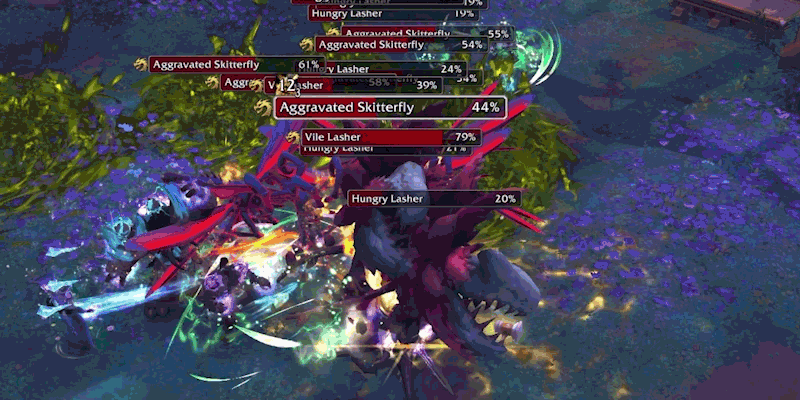
Aggravated Skitterfly
Darting Sting - Charges and hits a player.
 Agitation - Buff themselves to do additional melee damage.
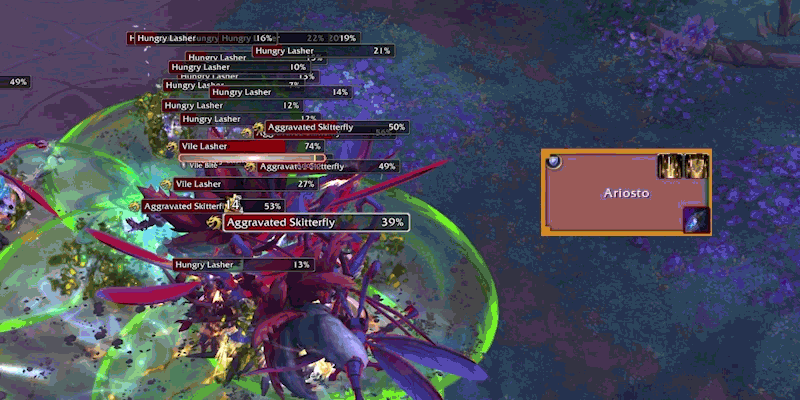
Vile Lasher
 Vile Bite - Tank bite with an added DoT.
 Detonation Seeds - AoE Swirls that will disorientate if hit for 6 seconds.
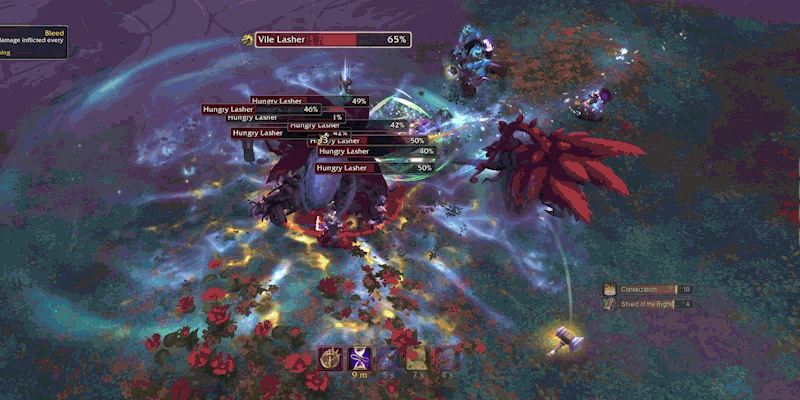
Hungry Lasher
They just melee! But careful, there's a lot of them.
Vexamus Trash
Arcane Forager
Vicious Lunge - Lunges at a random player, dealing moderate damage.
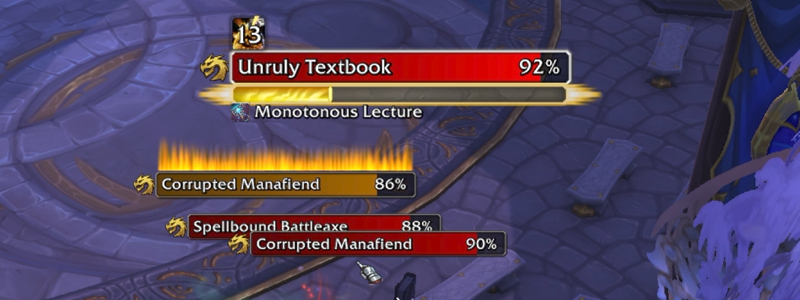
Corrupted Manafiend
 Surge - Heavy-hitting cast, priority interrupt.
  Mana Void - Places a DoT on the non-tank players. After 6 seconds, deals additional damage, then drains 10,000 mana from anyone within 4 yards.
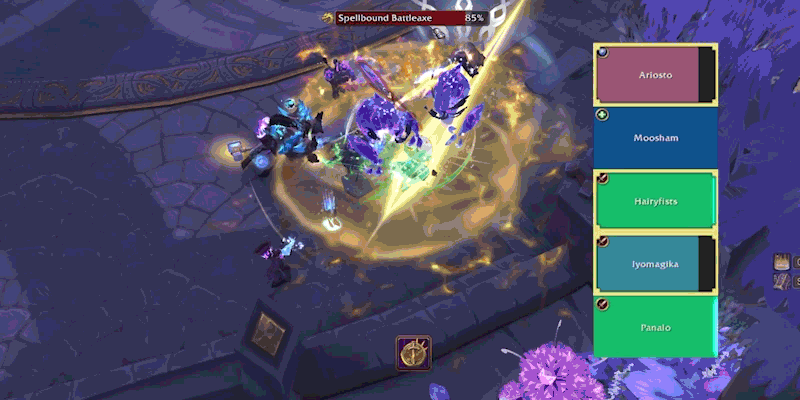
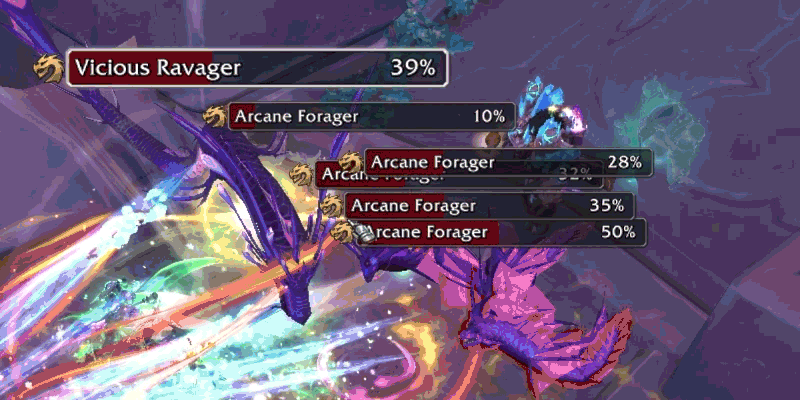
Vicious Ravager
Vicious Ambush - Leaps to a player, hitting anyone within 6 yards, and leaves a DoT, followed up by...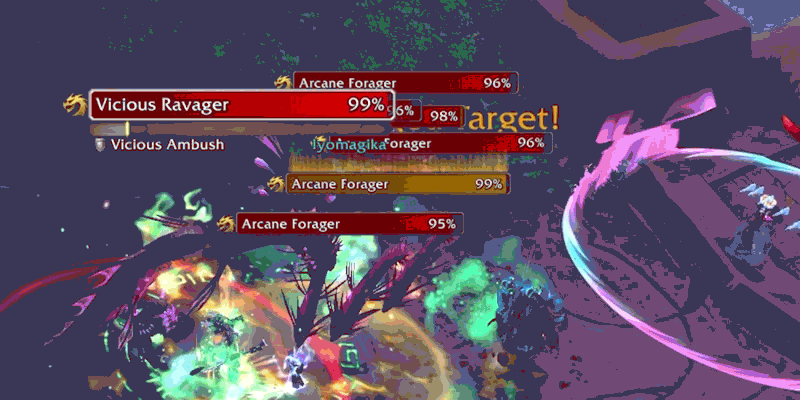
 Riftbreath - Fires a frontal towards the group, ensure positioning keeps you out of the way.
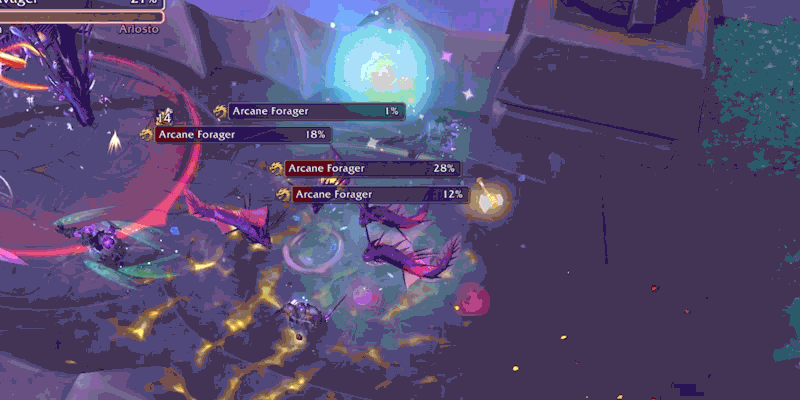 Note: In previous seasons where Algeth'ar was played, you were able to stop Vicious Ambush from casting. That no longer appears to be the case.
Spellbound Battleaxe
Spellbound Weapon - Inflicts heavy magic damage with melee attacks.
Unruly Textbook
Monotonous Lecture - Puts the group to sleep, will probably result in a wipe.
Crawth Trash
Guardian Sentry
Storm Slash - Tank buster.
Deadly Winds - Drops two tornados that will spiral around and knock anyone who gets caught in them. 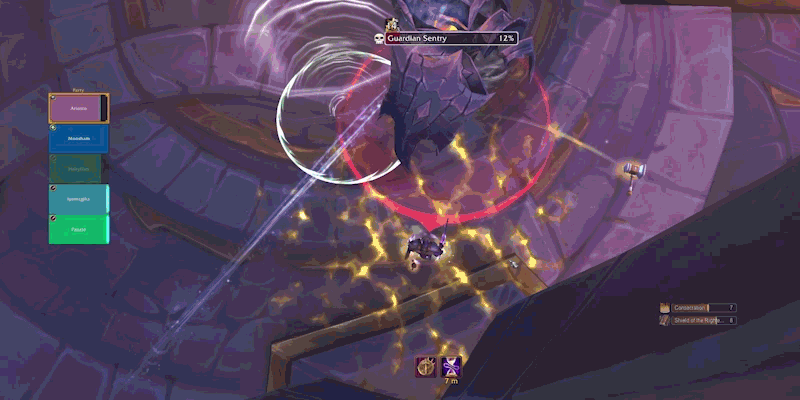 Expel Intruders - Large knockback circle, tanks/melee be ready to start running as you won't have much time to clear the distance.
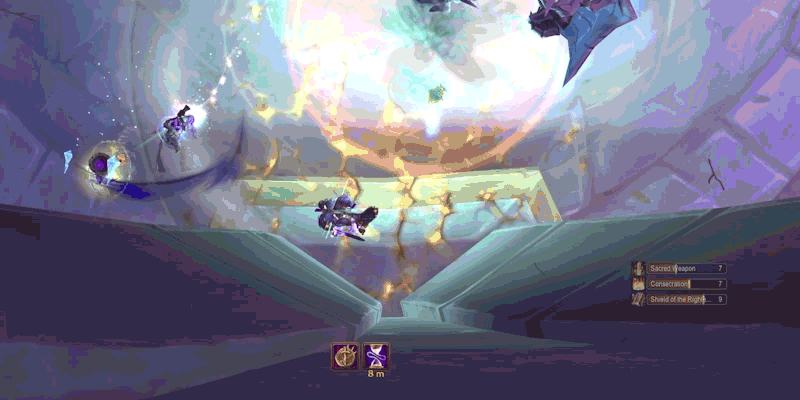
Alpha Eagle
 Raging Screech - Buffs all nearby eagles with a 50% attack speed, and AoEs the group.
 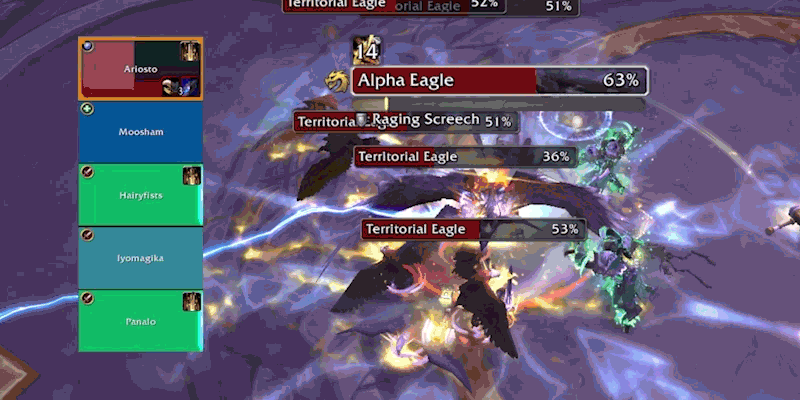 Gust - Frontal cone, if you survive being hit, you'll be thrown off the platform.
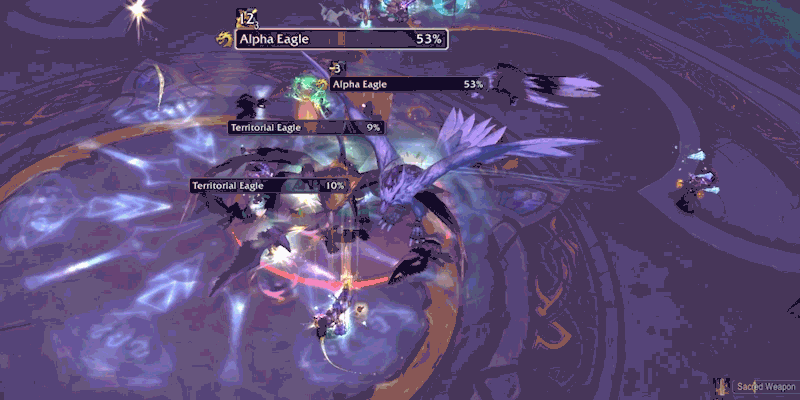
Territorial Eagle
 Peck - Applies a stacking bleed to the tank.
Doragosa Trash
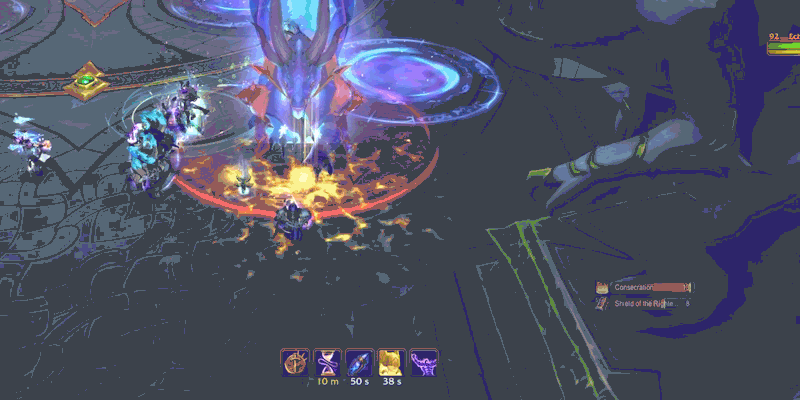
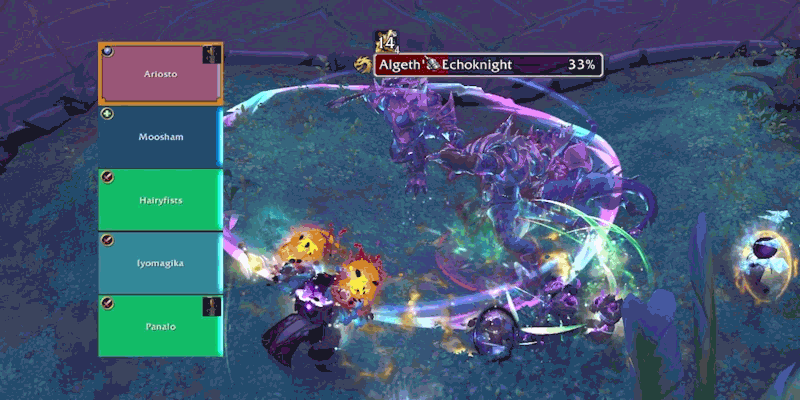
Algeth'ar Echoknight
Astral Whirlwind - Creates a magical whirlwind within 6 yards, lasts 5 seconds.
 Arcane Smash - Smash on tank that hits everyone in the group for AoE.
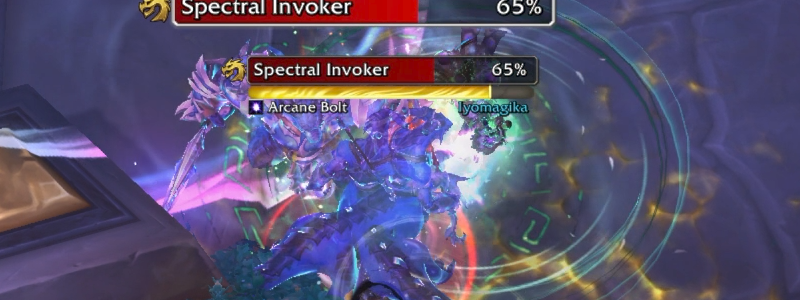
Spectral Invoker
Arcane Bolt - Bolt slop.
Bosses
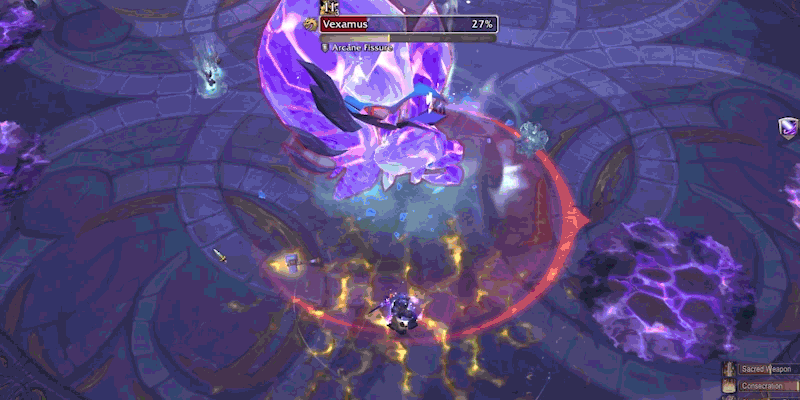
Vexamus
To start, the fight has Professor Maxdormu sending 5  Arcane Orbs towards Vexamus. If they hit Vexamus, they'll explode for far more damage than just intercepting them yourself. Because of Oversurge, each player should aim to grab one orb, as taking additional ones will stack Oversurge making each additional orb 200% more deadly. Try not to refresh the Oversurge as it's about to drop off, so try and juggle picking up the orb right after your debuff fades.
As for Vexamus, tanks need to watch where they're pointing the boss, as it will cast Arcane Expulsion, following wherever the tank is pointing the boss. This might be deadly to other players if the tank is also trying to grab their Arcane Orb. 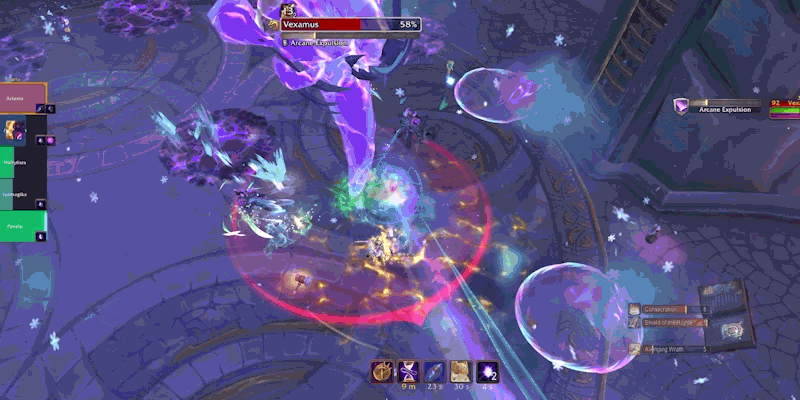
Three people will be selected for Mana Bombs, which will drop some area-of-denial after it ticks out. Move these to the outskirts of the room to give space in managing Arcane Orbs 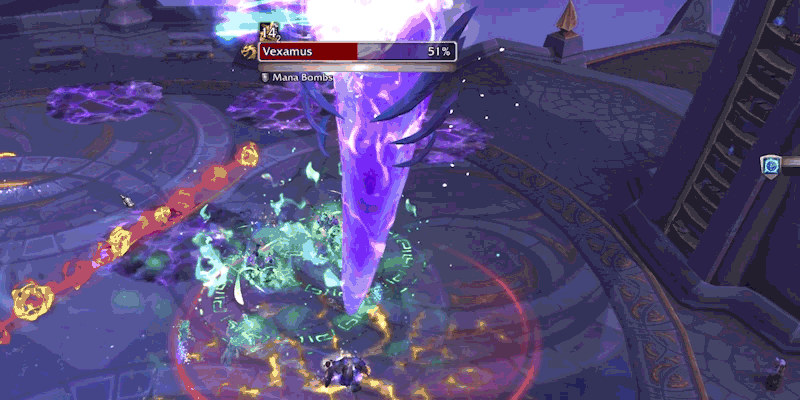
Once Vexamus hits 100 Energy, it will push everyone away and you'll pulse 3 instances of Arcane Fissures. Stay spread out and ensure you aren't standing in any fissures when they go off.
Overgrown Ancient
This fight will be an damage meter dream, but don't let your guard down on some of the deadly things it can do. Tanks will start by watching out for Barkbreaker, taking a large hit but also taking an additional 100% damage for 9 seconds.
The main dance to this dungeon starts with Germinate, where the Ancient will sprout lasher seeds beneath players feet every one second for four seconds. Try and place these in a collective circle, as you want to try and eliminate as many as you can through cleave.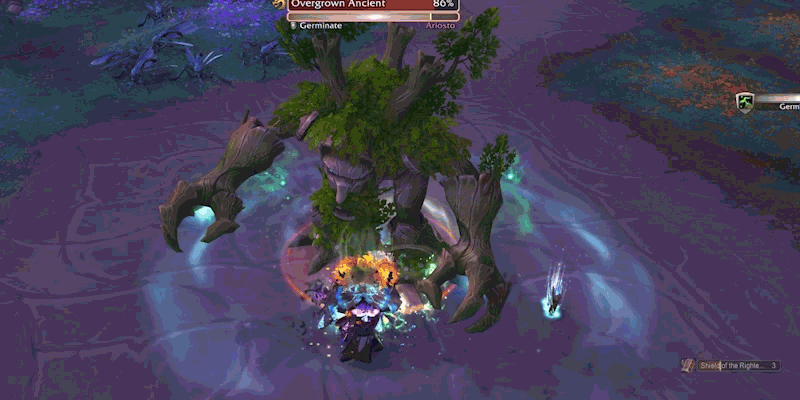
After the first wave of Germinate, Overgrown Ancient will then Branch Out, spawning a Ancient Branch that will attempt to heal the Ancient using Healing Touch. It's important to kill this Branch immediately because when it spawned, everyone in the party gains Splinterbark, a DoT that can only be removed by the Branch dying, which triggers Abundance to cast. Standing in this will remove the DoT and heal you up to 100%.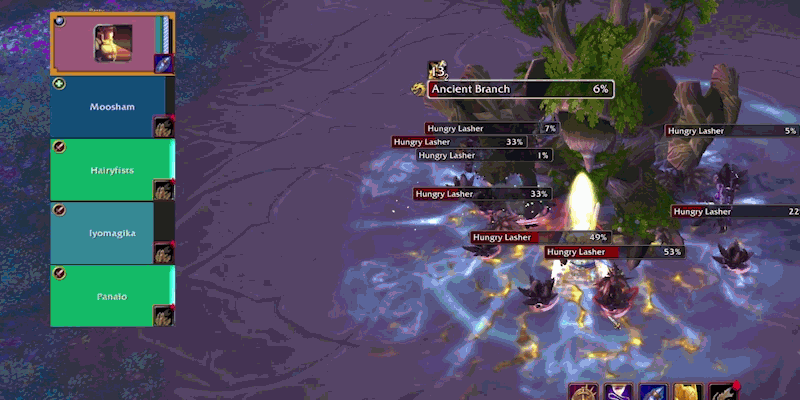
Clear as many lashers as you can before the second wave of Germinate, because after this set, Overgrown Ancient will cast  Burst Forth, damaging the group and spawning every seed into a Hungry Lasher, which will apply
  Lasher Toxin, a stacking poison that will stack very quickly. Let the stacks get somewhat high before cleansing, as you don't want to remove it too quickly and then let it stack out of control while on cooldown.
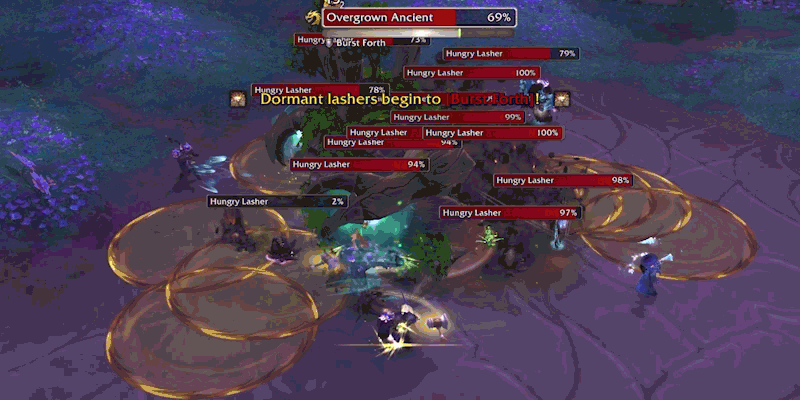
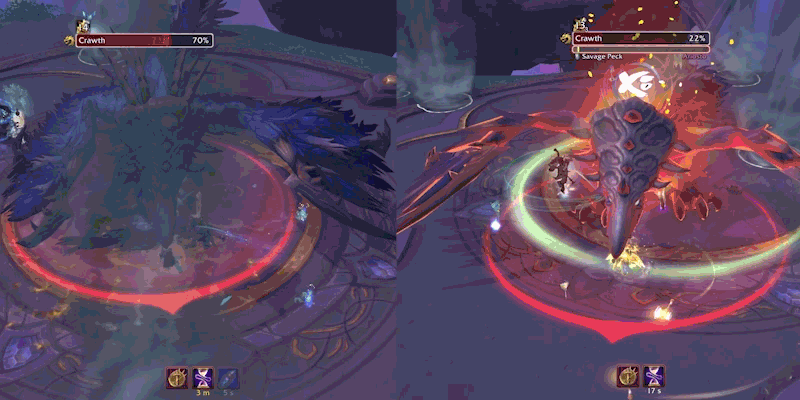
Crawth
This fight will ramp intensity for both the group and especially the healer. Starting with the tank needing to mitigate and heal through Savage Peck, leaving little room for error on being hit by anything else.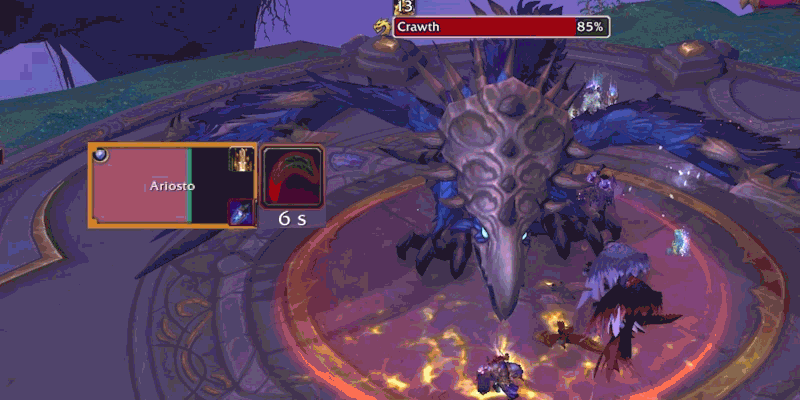
Crawth will face a player and cast Overpowering Gust, knocking anyone off the platform if they survive. Falling off the platform won't kill you, however it will take some time to get back into the fight, especially if you're a healer. 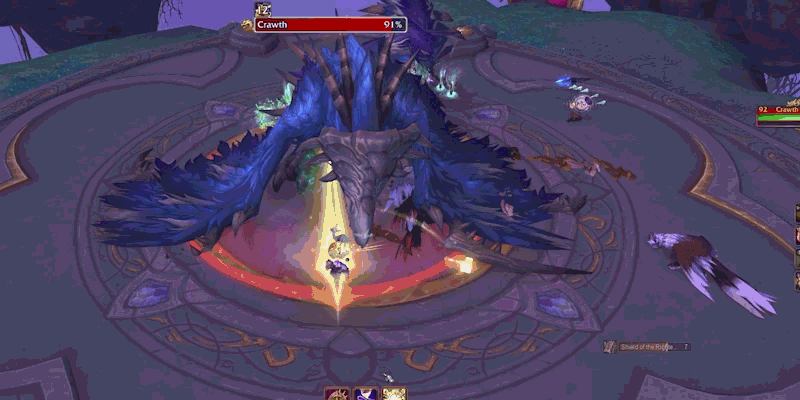
The other thing the healer will have to heal through is Deafening Screech. Don't be casting when this goes off, of you'll be spell-locked. Also maintain spreading out, which will get more difficult throughout the fight.
The main ramp in difficulty stems from when Crawth hits 75% and 45%, it will begin Ruinous Winds, and at the same time, Play Ball! will occur. You'll have 20 seconds to grab 3 balls and throw them into the 'goals', and doing so will stop Ruinous Winds from going off. Depending on which goals you placed the balls in, you'll get one of two Goal scenarios:
Goal of the Rushing Winds (which we recommend using first) will trigger Gale Force, creating strong winds for players to push against while also forming Roving Cyclones around the arena. There are a few motes that a player can grab that will buff them with 45% haste and 50% movement speed for 20 seconds. This will also make them immune to the forces of Gale Force, so use them wisely.
Goal of the Searing Blaze will have constant eruptions of Firestorm swirls throughout the remainder of the fight, and also empowering Crawth with Blistering Fire, ramping up healing requirements. This will also give you a small DPS window of 75% increased damage to Crawth once it is stunned at the start of this phase.
Note: The previous Goal will carry over to the next, so plan your goals accordingly.
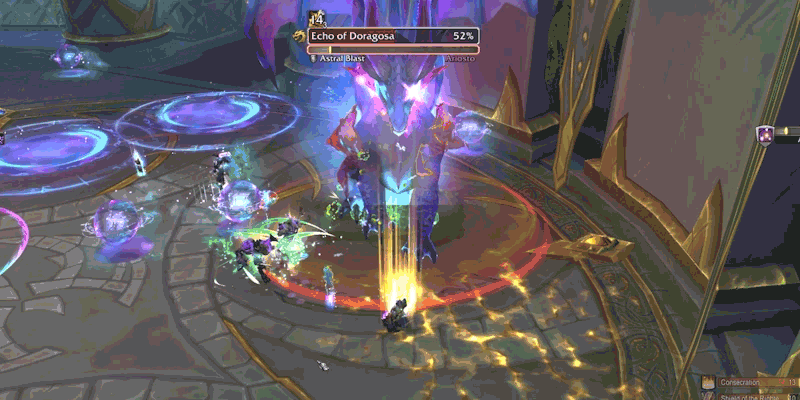
Echo of Doragosa
The fight revolves around the juggling of Overwhelming Power. Every time you are hit with an arcane attack, you'll gain a stack, which will increase your haste by 5% each stack. After 3 stacks, you'll drop an Arcane Rift. These will fire out several Uncontrolled Energy that will also stack Overwhelming Power, so if not managed effectively, the entire room can become too chaotic for your healer to keep up.
To start the fight, Doragosa will throw two Arcane Rift via Unleash Energy. Try and drop any additional rifts along the sides of the room to limit the amount of Uncontrolled Energy are firing out into the fight. 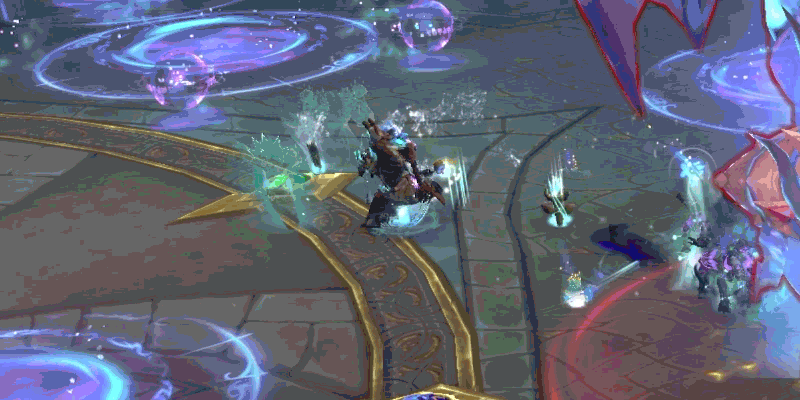
Tanks will always gain a stack of Overwhelming Power when hit with Astral Blast. Again, place the Arcane Rift on the edge of the room when you know your third stack is about to trigger.
The rest of the group will need to pay attention to their stacks of Overwhelming Power. Doragosa will select random players to hit with Arcane Missiles.
When they have an Energy Bomb and two stacks of Overwhelming Power, they also want to run to the edge of the room and drop their Arcane Rift
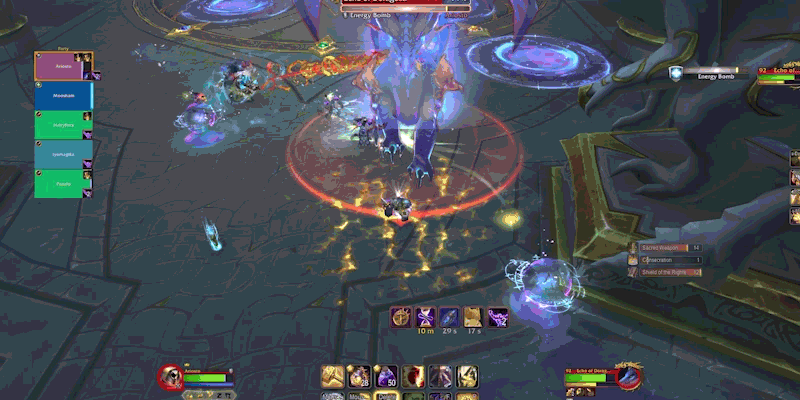
Finally, keep a constant eye on any Uncontrolled Energy that are passing between the boss and yourself-- She will pull everyone to her and begin casting Power Vacuum, which is easy to run out of, but the trick is more about not trying to get hit by any Uncontrolled Energy on the pull-in.